Tips for Installing a Channel Drain in Existing Concrete
-
 20/04/21
-
 Vodaland Canada

Both indoor and outdoor structures are subject to water infiltration and pooling. This is especially true of environments where water is part of the work, like shower rooms or car washes. But residential patios and driveways may also need some help managing runoff. While it takes a bit more work to create drainage in completed hardscapes, these tips for installing a channel drain in existing concrete should help.
Choose the Type and Size of Drain System
Identify the area where a drain should be installed to carry water away, and where the captured water will go. Check your local zoning and environmental regulations, and identify if permits are required.
Next, determine the size, length, and type of channel drain you will install. They come in different widths, depths, and materials. Some have grates to collect debris and some do not. Many of these drain systems have modular parts that connect to make drains of different lengths. Check to see what type and size of outlet piping the drain accommodates. Trench drains are usually at least 4 inches wide; slot drains have a much narrower opening and may be more visually pleasing, if appearance is a concern.
Measure, Mark, and Drill
Using a chalk line, measure and mark the path of the trench drain, and another line as far from the outer edge of the proposed drain as is recommended by the manufacturer for installation. The trench you dig must be wider than the drain you will install to allow for backfilling with concrete when the trench is assembled. Drill out the concrete between the two widest lines with a jackhammer (or hire a professional to use this powerful and dangerous tool), removing the broken concrete as you go, until you have uncovered earth for the full length and width of the installation.
Channel drains need good bedding, which may be concrete, gravel, or sand. Consider the slope necessary to keep water moving. Dig deeper than your drain to provide space for the bedding.
Install, Connect, Level, and Backfill
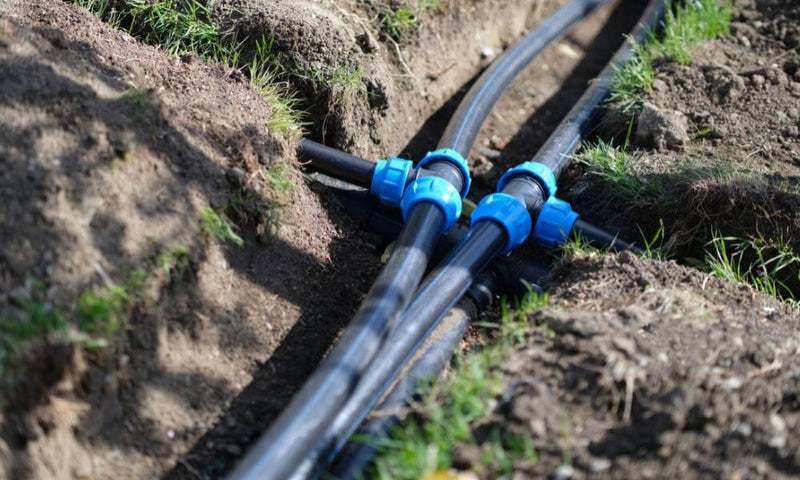
Once your lane is dug and prepared with bedding for the drain, you can begin assembling the drain. Snap the drain lengths together and attach them to PVC piping to carry the water off the property to the designated permissible destination.
Channel drains added to existing concrete must be leveled so the top is flush with the concrete after you backfill. Once the drain is assembled, ensure that the top of the drain, with its grate if it has one, doesn’t rise above the level of floor, driveway, or patio. This creates a tripping hazard and ruins the effectiveness of the drain. Once you are satisfied that the drain is flush with the surrounding surface, you can backfill.
Vodaland provides a variety of drainage and erosion prevention solutions, from channel and slot drains to ground grids, and accessories like end caps, catch basin grates, and adapters.